If you want to extend an individual camper, you are spoiled for choice when it comes to design. On the Internet there are many examples of self-developed campers and if you enter "camper extension ideas" on Google, you will be overwhelmed by ideas for DIY camper extension.
Think about how much time and money you want to invest in the camper conversion and what kind of interior you want. DIY camper conversion takes time and nerves, but it is also a lot of fun! At the end you can be proud of the extension of your camper.

Preparation for the camper expansion
If you do not have so much time and money and you want your motorhome to be ready for use quickly, with the help of these instructions you can create the DIY conversion in about 10 days. Of course, you can not create an elaborate interior in the short time, but the good thing about a DIY conversion is that you can always improve and change something in the interior.
1. Sketch your interior design ideas
Every extension starts with an idea. Once you have an idea of what you want your camper to look like later and what furnishings you would like to have, you should sketch out your ideas.
With the help of the sketch you can calculate how much space is available for the respective furnishings in the camper and where what should be placed. Get inspiration and ideas for the camper interior on the Internet.
Also consider where you want to travel with your camper, how long the trips will be on average and how many people should fit in the camper. With the help of these questions, you can filter the camper conversion ideas and start the one that suits you best.
2. The right schedule
Plan enough time for your camper removal. Not everything always goes smoothly. Sometimes you have to buy materials, wait for materials and depend on delivery times. Depending on whether you have all day for the self-expansion, or do it next to work, the self-expansion will take more or less time.
3. The right tool
No removal without tools! In addition to the right tools, you also need a good site where there is enough space to store the materials and, if possible, the camper is protected from the rain.
Do not worry if you do not have all the necessary tools. You can also borrow special tools for the removal at the hardware store.
Get a guidebook where helpful tips on how to use special tools are described. It can be challenging for people who don't have daily contact with these items.
4. The materials
With the help of your sketch, think about how much of which material you need. In addition to wooden boards, planks and insulation material, you will also need the appropriate electrics and many individual parts, for example taps for the kitchen and possibly for the wet room.
Not everything is always directly available, for some parts you have to expect delivery times.
Calculate in advance how high the material costs will be, then there will be no unpleasant surprises.
5. The purchase
Think in advance how much of which material you need and rather buy a little more of it. Because if something is missing at the end, you lose not only time but also often the patience, which leads to the fact that you quickly buy missing material, which is accompanied by greater costs. In the end, this makes itself felt in the total bill.
6. Now you can start
If everything is prepared, the self-assembly of your camper can finally start. Get instructions and tips for the expansion from the Internet.
Many sites offer guides for the expansion, where examples, tips and mistakes already made are listed. Thus, you can not only collect ideas, but also avoid mistakes that others have already made.

Instructions: Project "Camper expansion"
The best car for self-development for beginners is a panel van. These can be bought used on the Internet, for example from Renault, VW or Mercedes, for quite little money.
Box vans are cheaper than a real motorhome and easier to build the interior. The following instructions will take you step by step through the conversion and closer to your dream van.
1. Sketch and basic idea
Before you can get started with the camper conversion, you need to make a sketch of the floor plan so you know exactly what will go where.
To know what will fit in your van, you need to think about the following things:
-
What is the maximum cost you are willing to pay?
-
How much time do you have for the expansion?
-
Do you want to isolate the camper?
-
Do you want to cook in the van?
-
How many batteries do you need?
-
Should a wet room be planned in the van?
-
Should the camper be registered as a mobile home?
-
What tools do I have and where do I expand?
-
How many sleeping places and seats do you need?
Among the most important tips among camper conversion ideas is space-saving conversion from the bus. Build a rack of drawers on which the bed will rest.
The kitchen should be in the sliding door from the van, so you can pull the stove out into the open on a heavy-duty pullout.
To still have room for a seating area, the bed should be built as a folding structure.
There are of course differences in the models of Renault, VW & Co as far as space is concerned. A bus or van must be expanded differently than a panel van.
You can find instructions for each model on the Internet.

2. Materials
The best material for any finishing is wood. It is light and cozy and is easy to work with. There are different types of wood and panel thicknesses, all of which have their advantages and disadvantages.
Here is a brief overview:
-
3-layer board for stable furniture
-
packaging plywood
-
5mm plywood for wall paneling
-
heavy-duty slides
-
euro boxes
-
strips from the hardware store
-
Ordinary wood screws with Torx
If you have a small budget, plywood panels can go a long way. One square meter does not cost 10 euros. However, the wood in the 20 mm version is already quite heavy.
Anyone who wants to expand his dream bus should also have the maximum weight in mind.

3. Purchase
To avoid delays during the construction, you should think in advance how much material and what exactly you need and where to get things. Some things will certainly have to be ordered.
For example, there are different drawer models, most drawer pulls are too short for a Sprinter, so you need to measure your van or Sprinter properly.
In order to make the DIY project go smoothly, think about the following aspects:
-
How much wood do you need?
-
Do you have to have the panels cut or do you have a good circular saw at home?
-
What screws do you want to build with?
-
How many euro boxes do you need and in which sizes?
-
Saw strips yourself or buy them?
-
Do you need abrasives?
-
Do you still need tools?
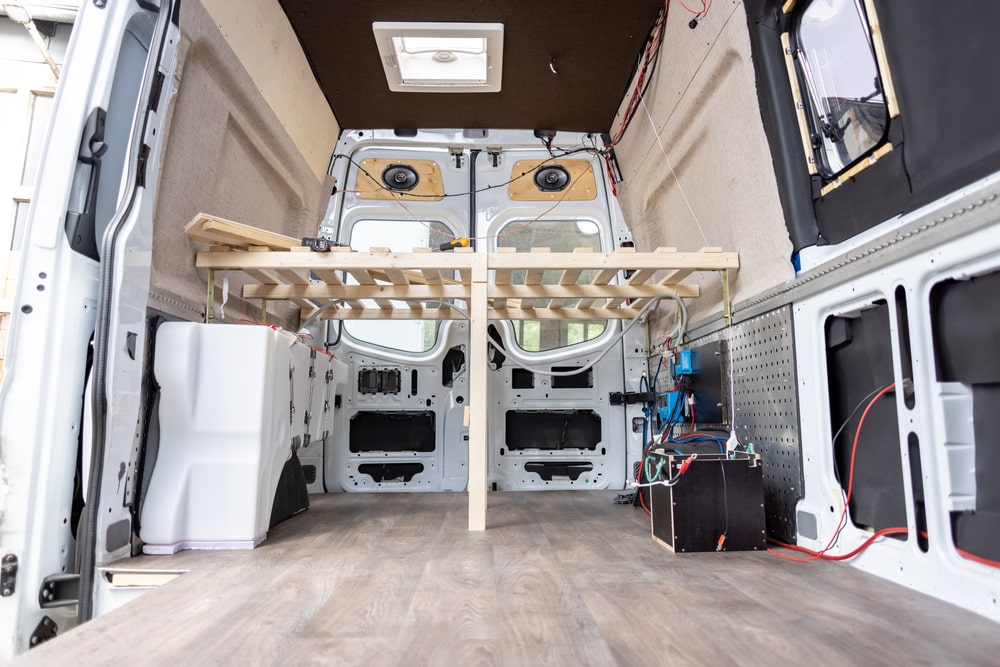
4. Insulation and Cladding
If you are unsure whether the effort of insulation in your camper is worth it, you can find a clear answer in almost all reports from other campers: Yes, it is definitely worth it!
With good insulation of the walls and floor, it is much warmer and quieter in the van. In addition, there is less condensation and mold.
Many use Armaflex to insulate their camper. Especially for permanent campers, good insulation and cladding is a must. In a well-insulated van you enjoy your adventure much better!

5th bed and storage space
If you look at camper conversion ideas for the self-conversion, you will quickly notice a common feature: the bed should run lengthwise, so that you can stretch your legs better.
So plan that into your camper conversion! To take full advantage of the space underneath, you can install boxes underneath. For this, instead of bedposts, you can build two thin wooden frames that nestle against the side walls of the paneling. Then come the drawers of packing plywood and moldings.
In the end, you have virtually the closet under your bed, which is very convenient, because a van or sprinter do not have much space. There are several variants for the Euro boxes:
-
60x40x22
-
60x40x32
-
60x40x42

6. The kitchen in the campervan
Having your own cooking facilities in the camper is very convenient, especially in bad weather. If you have your own kitchen in the camper, you are not dependent on a place or the weather and can quickly satisfy hunger.
Especially if you are traveling with children, it can take a lot of stress away if you can whip up something to eat at any time.
Many foods can be purchased fresh locally at the market or supermarket, while others you can bring with you on your trip from home. When upgrading from your Sprinter, plan space for spices, canned goods and other spare food items.
Also for pots, pans, cutlery & Co. should exist a fixed place in the van, so that the utensils do not fly around your ears. The more options you have to store things, the less problems you will have with lack of space and the less time you will have to spend looking for something specific.
The kitchen unit should be built of sturdy wood and have built-in storage compartments in the front. The best way to do this is to install wooden slats for the drawers and add safety catches to the cabinet doors.
Make sure that the wood you use for the bottom of the shelves and drawers has a sufficient thickness.

7. The seating area in the campervan
Reading reports, it becomes clear that you should plan for one seat per person.
A bench can be connected to the kitchen unit and is thus located directly behind the driver's seat. In the bench you have several options to store your things. The lid should fit tightly, but be easily removable. So you can quickly get to your stowed things.
A folding table saves work and space, but offers enough room for a cozy meal.
8. The toilet
While in real motorhomes extra space is planned for a wet cell with toilet, one is dependent on the most compact size of the toilet possible in the camper conversion. Recently, there are more and more compact composting toilets on offer. The BOXIO - TOILET is the most compact and perfectly designed for use in the campervan. By using sturdy Euroboxes, the format is really small, and the toilet is even stackable.
Of course, you can use public toilets, porta-potties or the spade when traveling, but the conditions are often not optimal, especially when it is urgent. Especially at unspoiled places, however, everyone wants to enjoy nature and no one wants to find kick mines and toilet paper there.
Experienced campers agree that the camping toilet is a must and belongs in every motorhome or camper.
There are different types. Chemical toilets need toxic chemicals and must be disposed of cumbersome only in designated places. Dry toilets, on the other hand, convince with low prices, easy cleaning and environmental friendliness.
Dry toilets work without chemicals or other liquids. They are particularly durable and comfortable. When used properly, they do not even produce the odor common to chemical toilets. Since the solid and liquid are separated from each other, there are fewer odors. By using hemp litter, the remaining moisture is extracted from the solid business. If this is done in a compostable bag, it can even be composted. The liquid can be poured in the garden at a ratio of 1:10 or poured directly into the sewer.
Due to the compact size and convenient handling, composting toilets are the ultimate idea for the camper expansion.

More camper conversion ideas
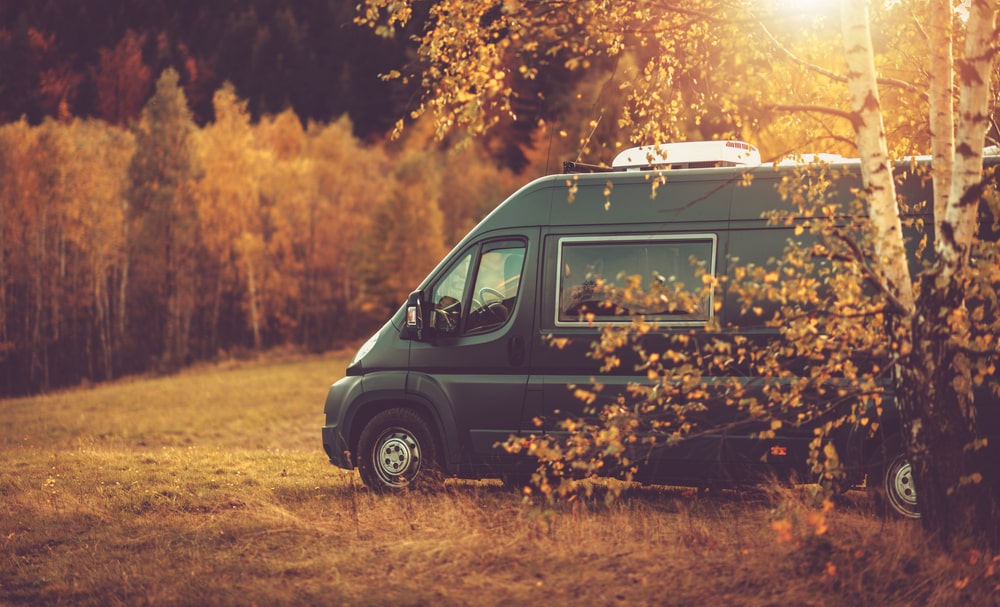
Roof rack - equipped for every adventure
Even with larger campers, such as a Sprinter or Renault Master, there is often a bit of a space problem. Especially if you want to travel with children, with dog or bulky sports equipment, it can quickly become very crowded in the camper.
But since you should by no means do without certain tools, various camping equipment and a few gasoline and water canisters on adventurous trips into nature, you can also use the roof of your camper as storage space.
Roof racks are well suited as additional storage space, but of course bring additional weight with them.

Hanging chair for more comfort
For many campers, a real camper's life only begins when you can really let your soul dangle. And what could be more suitable than a hanging chair in the camper?
The topic of coziness is of course very individual, but the idea of watching the sunset in the evening with a book in the hanging chair from the camper, should probably please everyone.

For the rest of life in the camper - the idea of independence
There are many videos nowadays where bloggers show their life in a camper. The idea of being free and independent and still earning money sounds very tempting, of course.
Many bloggers, writers and freelancers can work from anywhere and need only one - internet. With a portable router, you can also install him your camper a stable Internet connection.
Of course, the quality is not always optimal, but for that you can do the work on vacation and do not have to go to the office.

Camper conversion ideas: decoration and privacy screen
If you install windows in your camper during camper conversion, you will have more light in the camper during the day but also less privacy. To protect from prying eyes there are several options.
The simplest option is curtains. The advantage is that the cost of the fabric is quite low and the curtains can be customized to fit your camper.
There are also interior blinds or blackout film for the windows. If these ideas don't appeal to you, there is more inspiration for your camper interior on Instagram or Pinterest.
You can also find plenty of decorating ideas online. Whether it's a rug on the floor, cushions in the seating area, a tablecloth or fairy lights, there's something for every camper among the decoration options.


The floating wardrobe
Who does not know where to put jackets, caps & Co. can tinker a small wardrobe of snap hooks. The hooks must be attached to the ceiling of the camper and are then already ready for use. So you can quickly and easily just hang something.

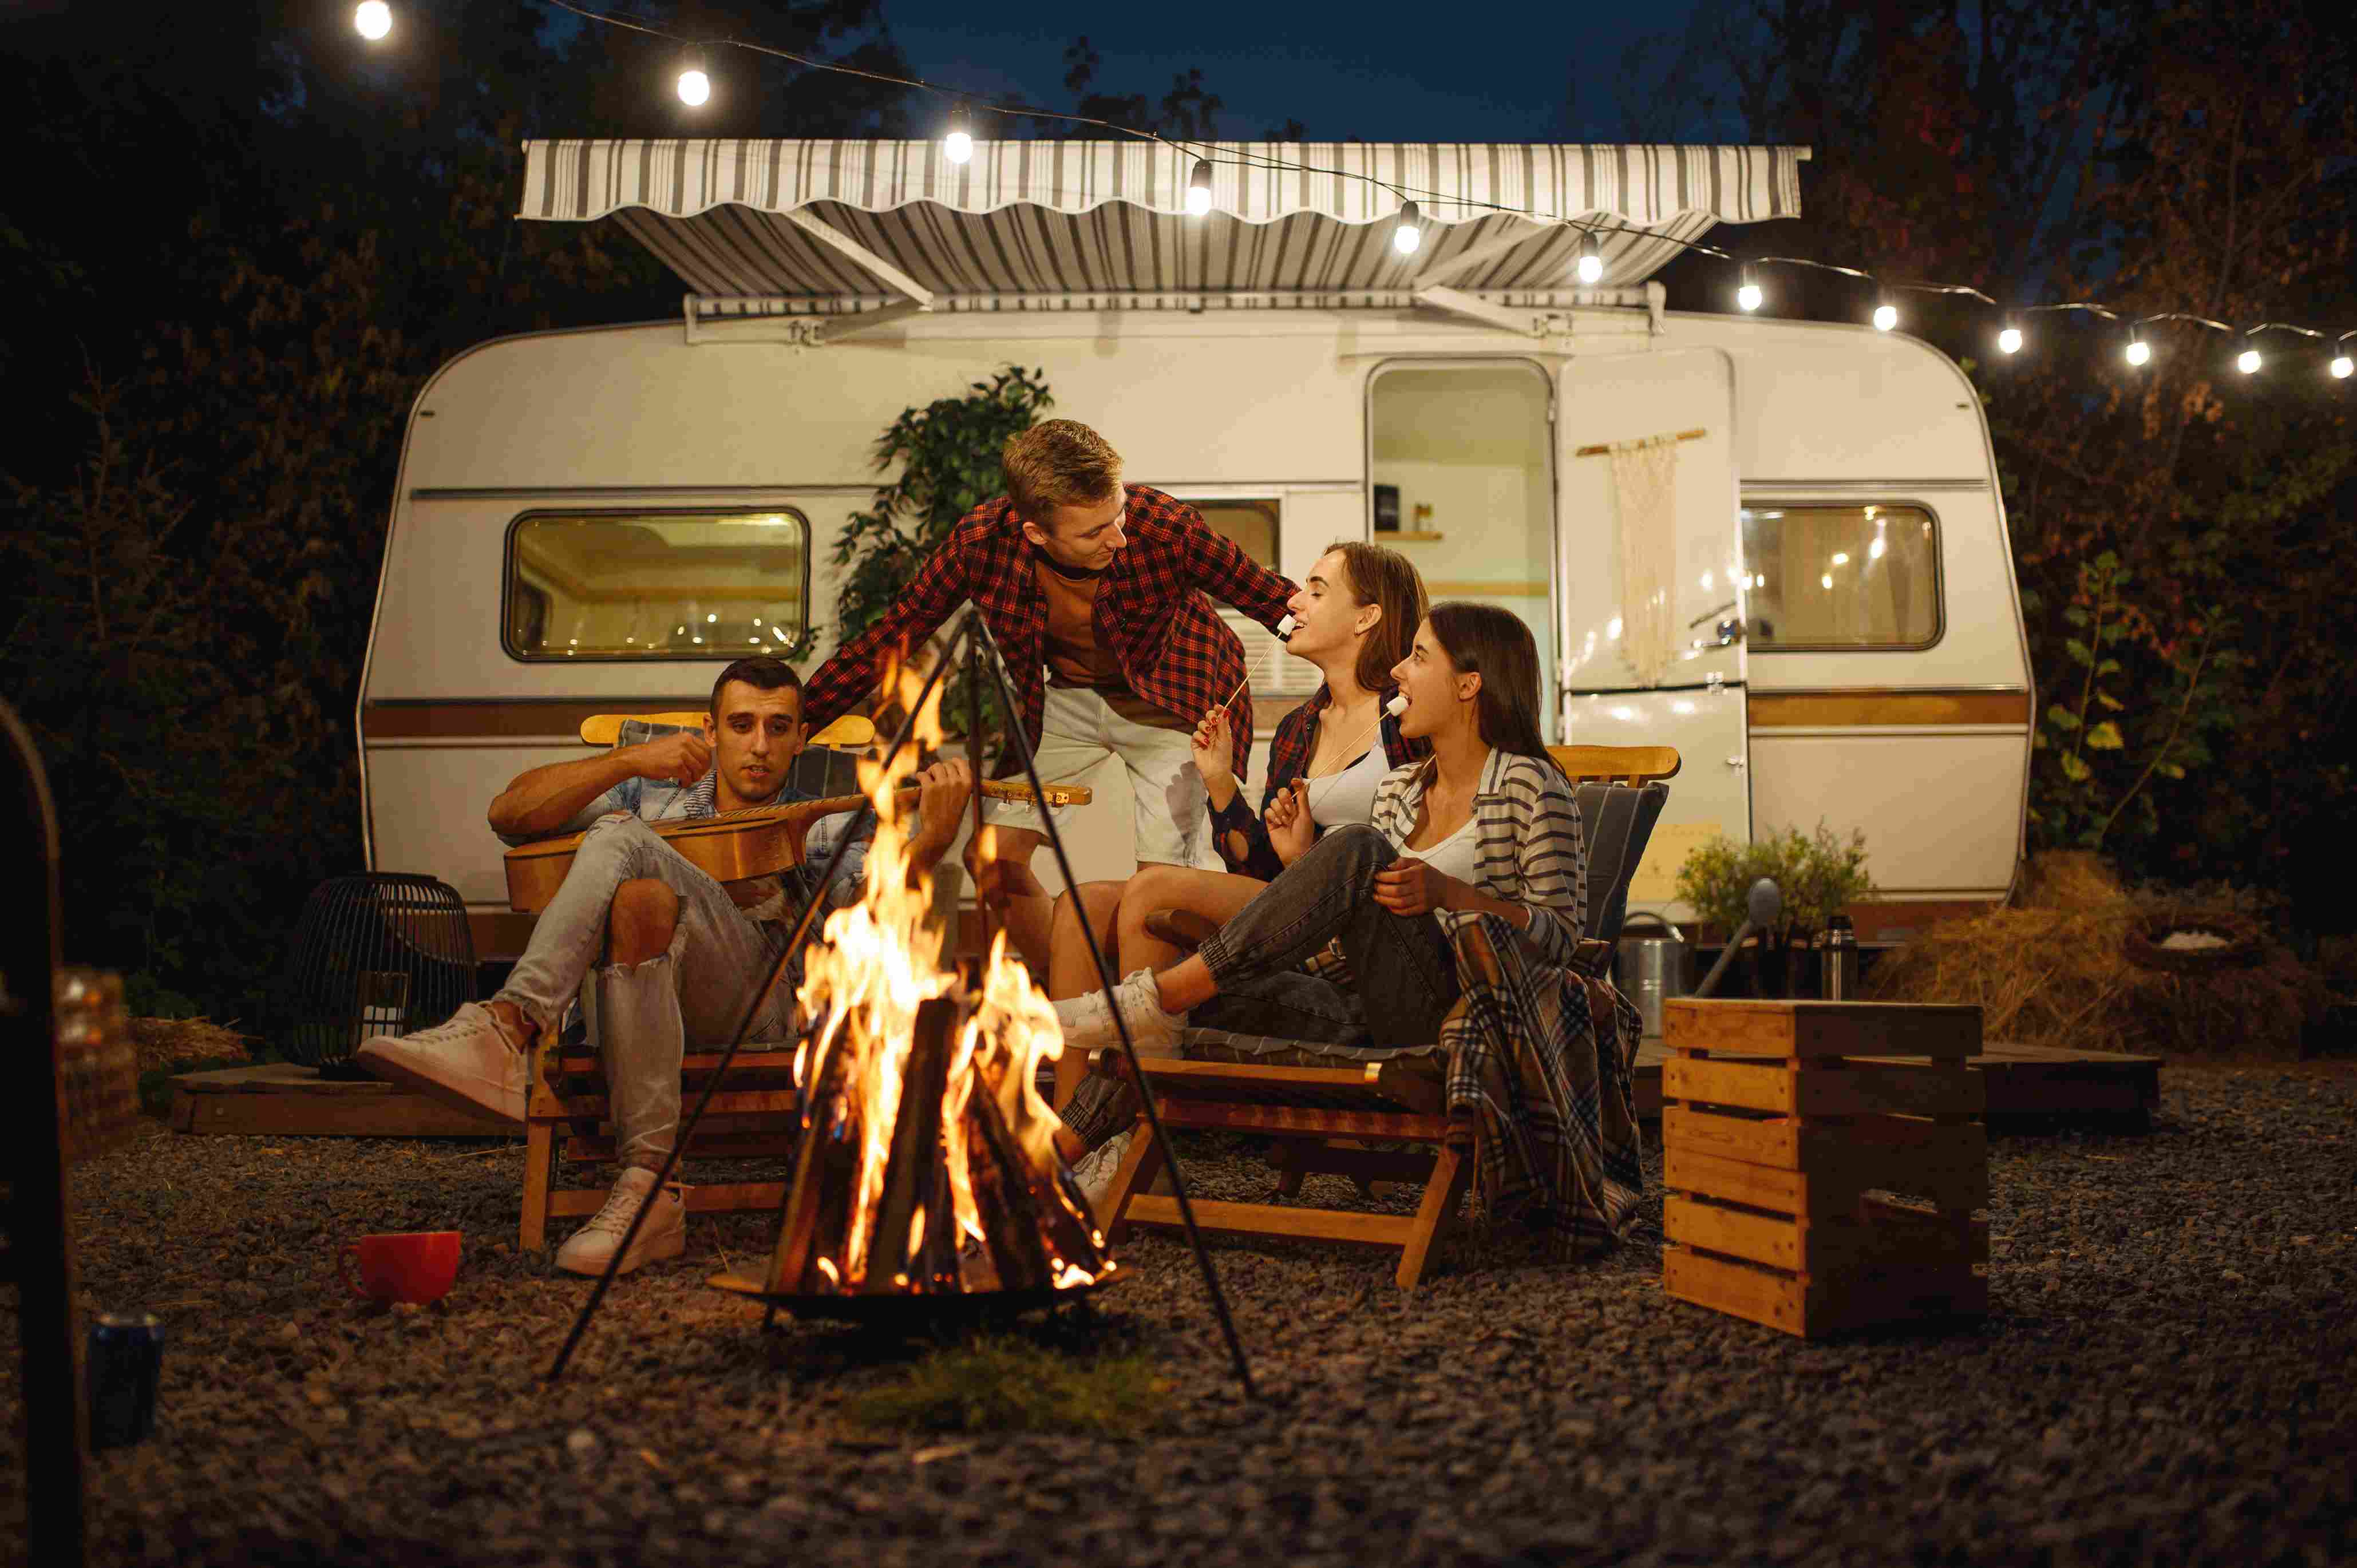
How outdoor lighting becomes a success
If you don't want to sit outside in the dark in the evening, you should look for practical outdoor lighting on your camper.
For this purpose, for example, LED lamps that you can stick on the camper over the sliding door are suitable. The lamp should meet the following requirements:
-
The outdoor light must be bright enough to illuminate the entire area in front of the camper
-
The light should not blind
-
The motorhome outdoor light must be waterproof
-
It must be sturdy enough so that it does not fall off while driving
-
It should also be energy efficient
-
Ideally, the motorhome outdoor light should also serve the purpose of a rain gutter over the door
